


Sourdough How-To | Making a Home with Melanie
Photos: Laura Eddy
Sourdough How-To | Making a Home with Melanie
View my Sourdough essentials list here!
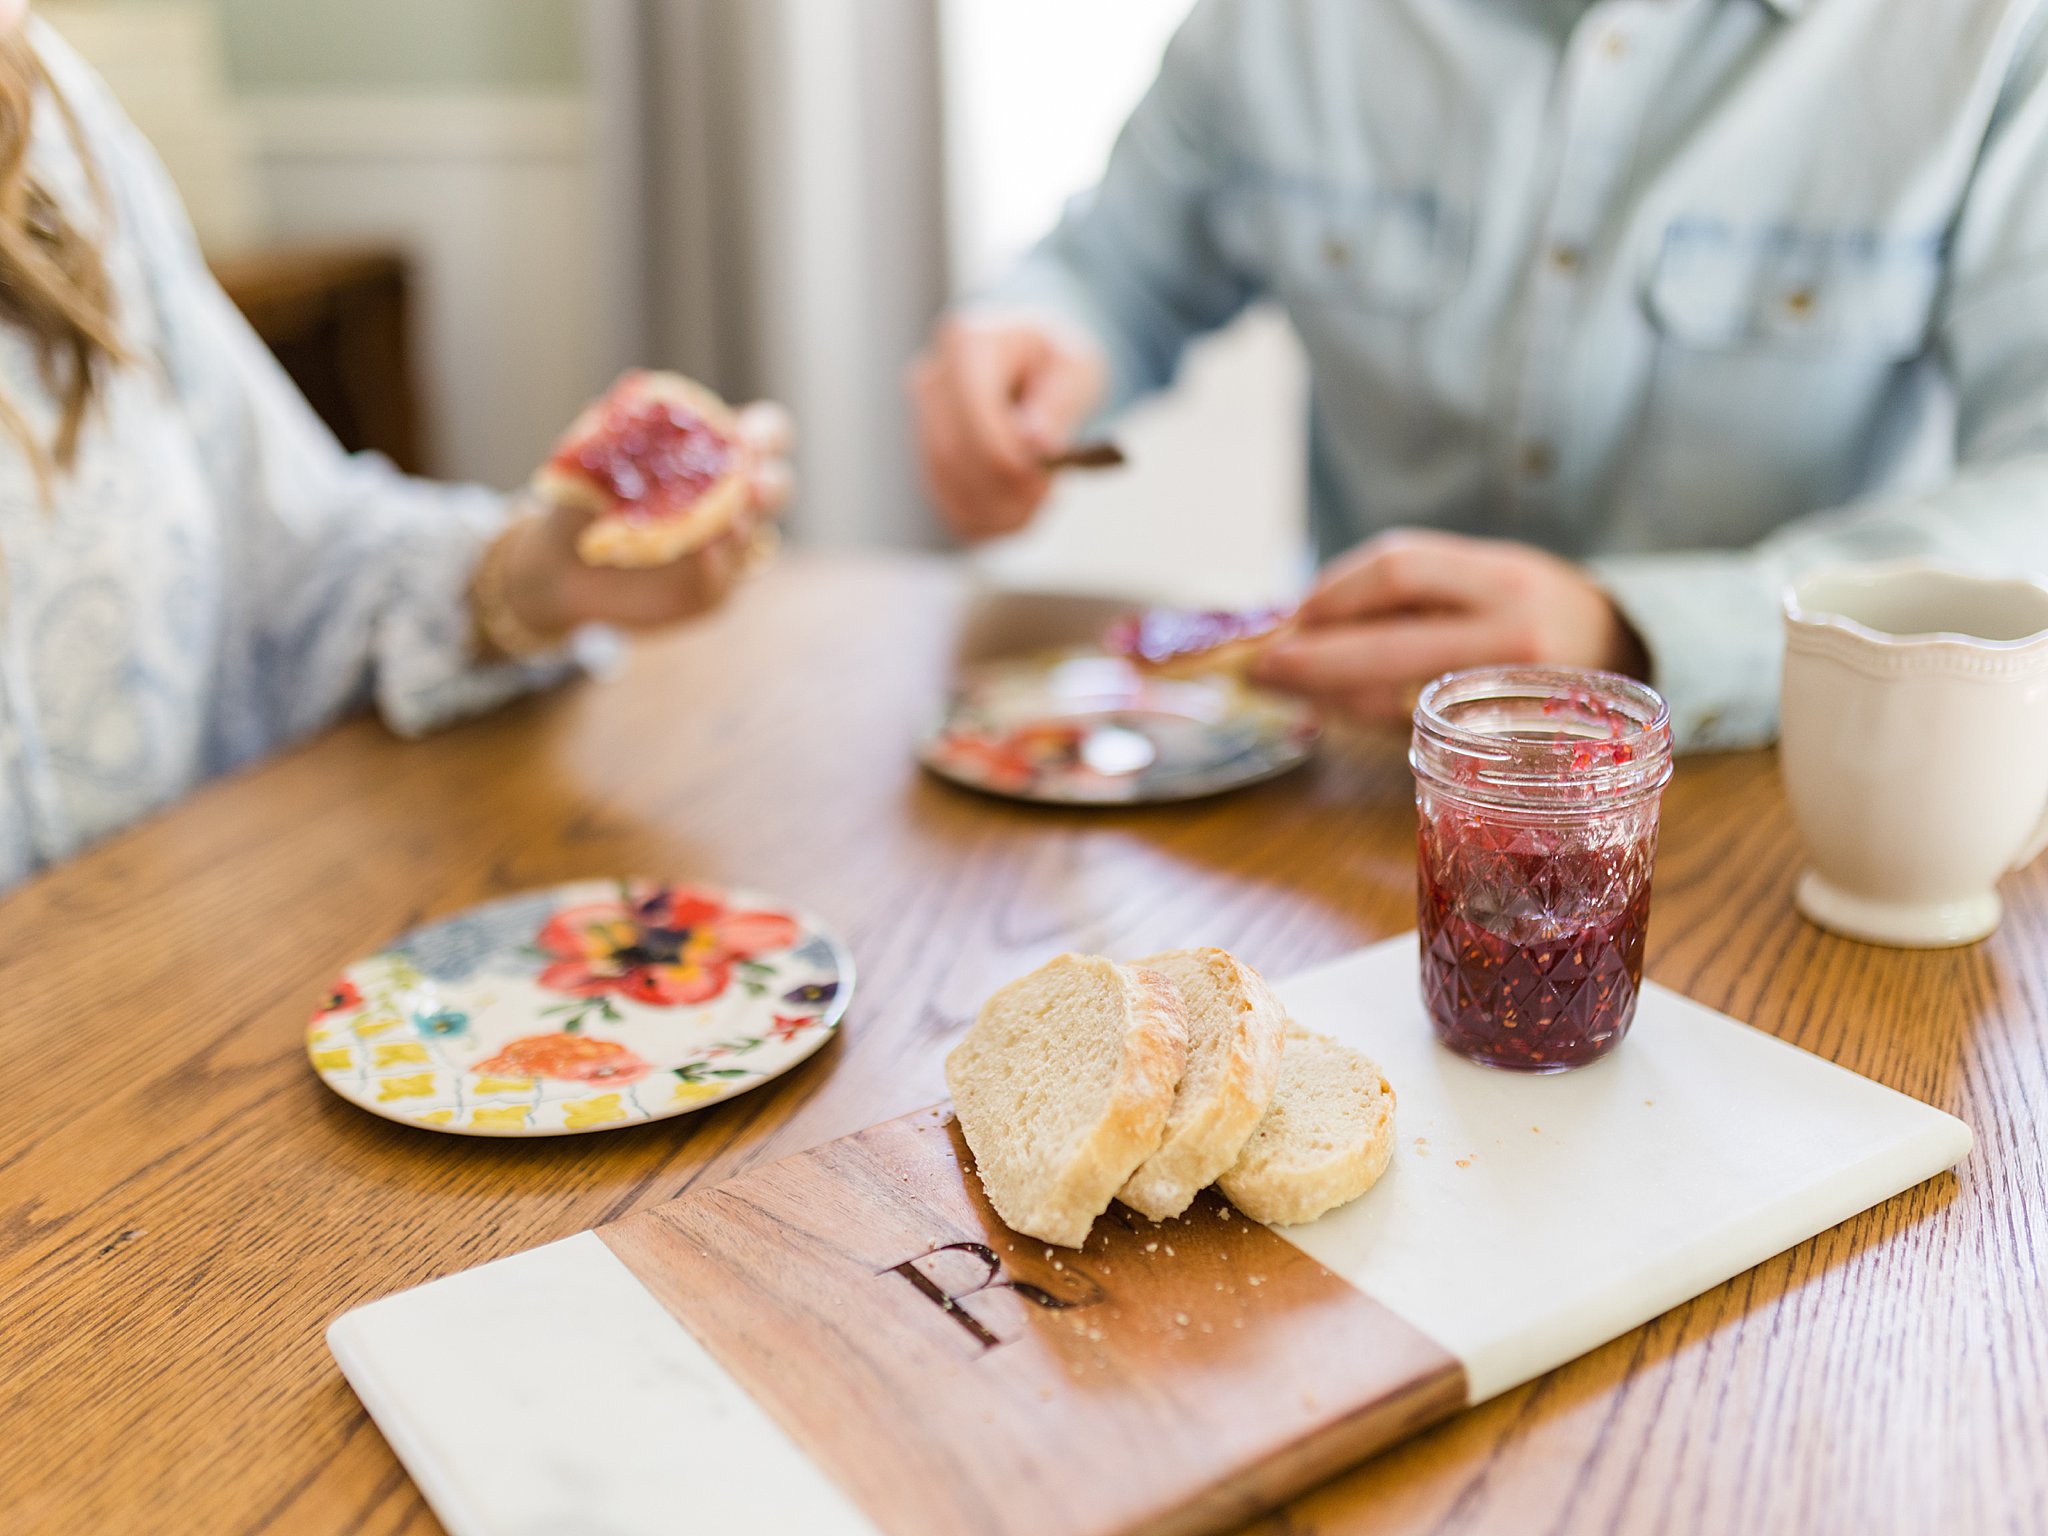
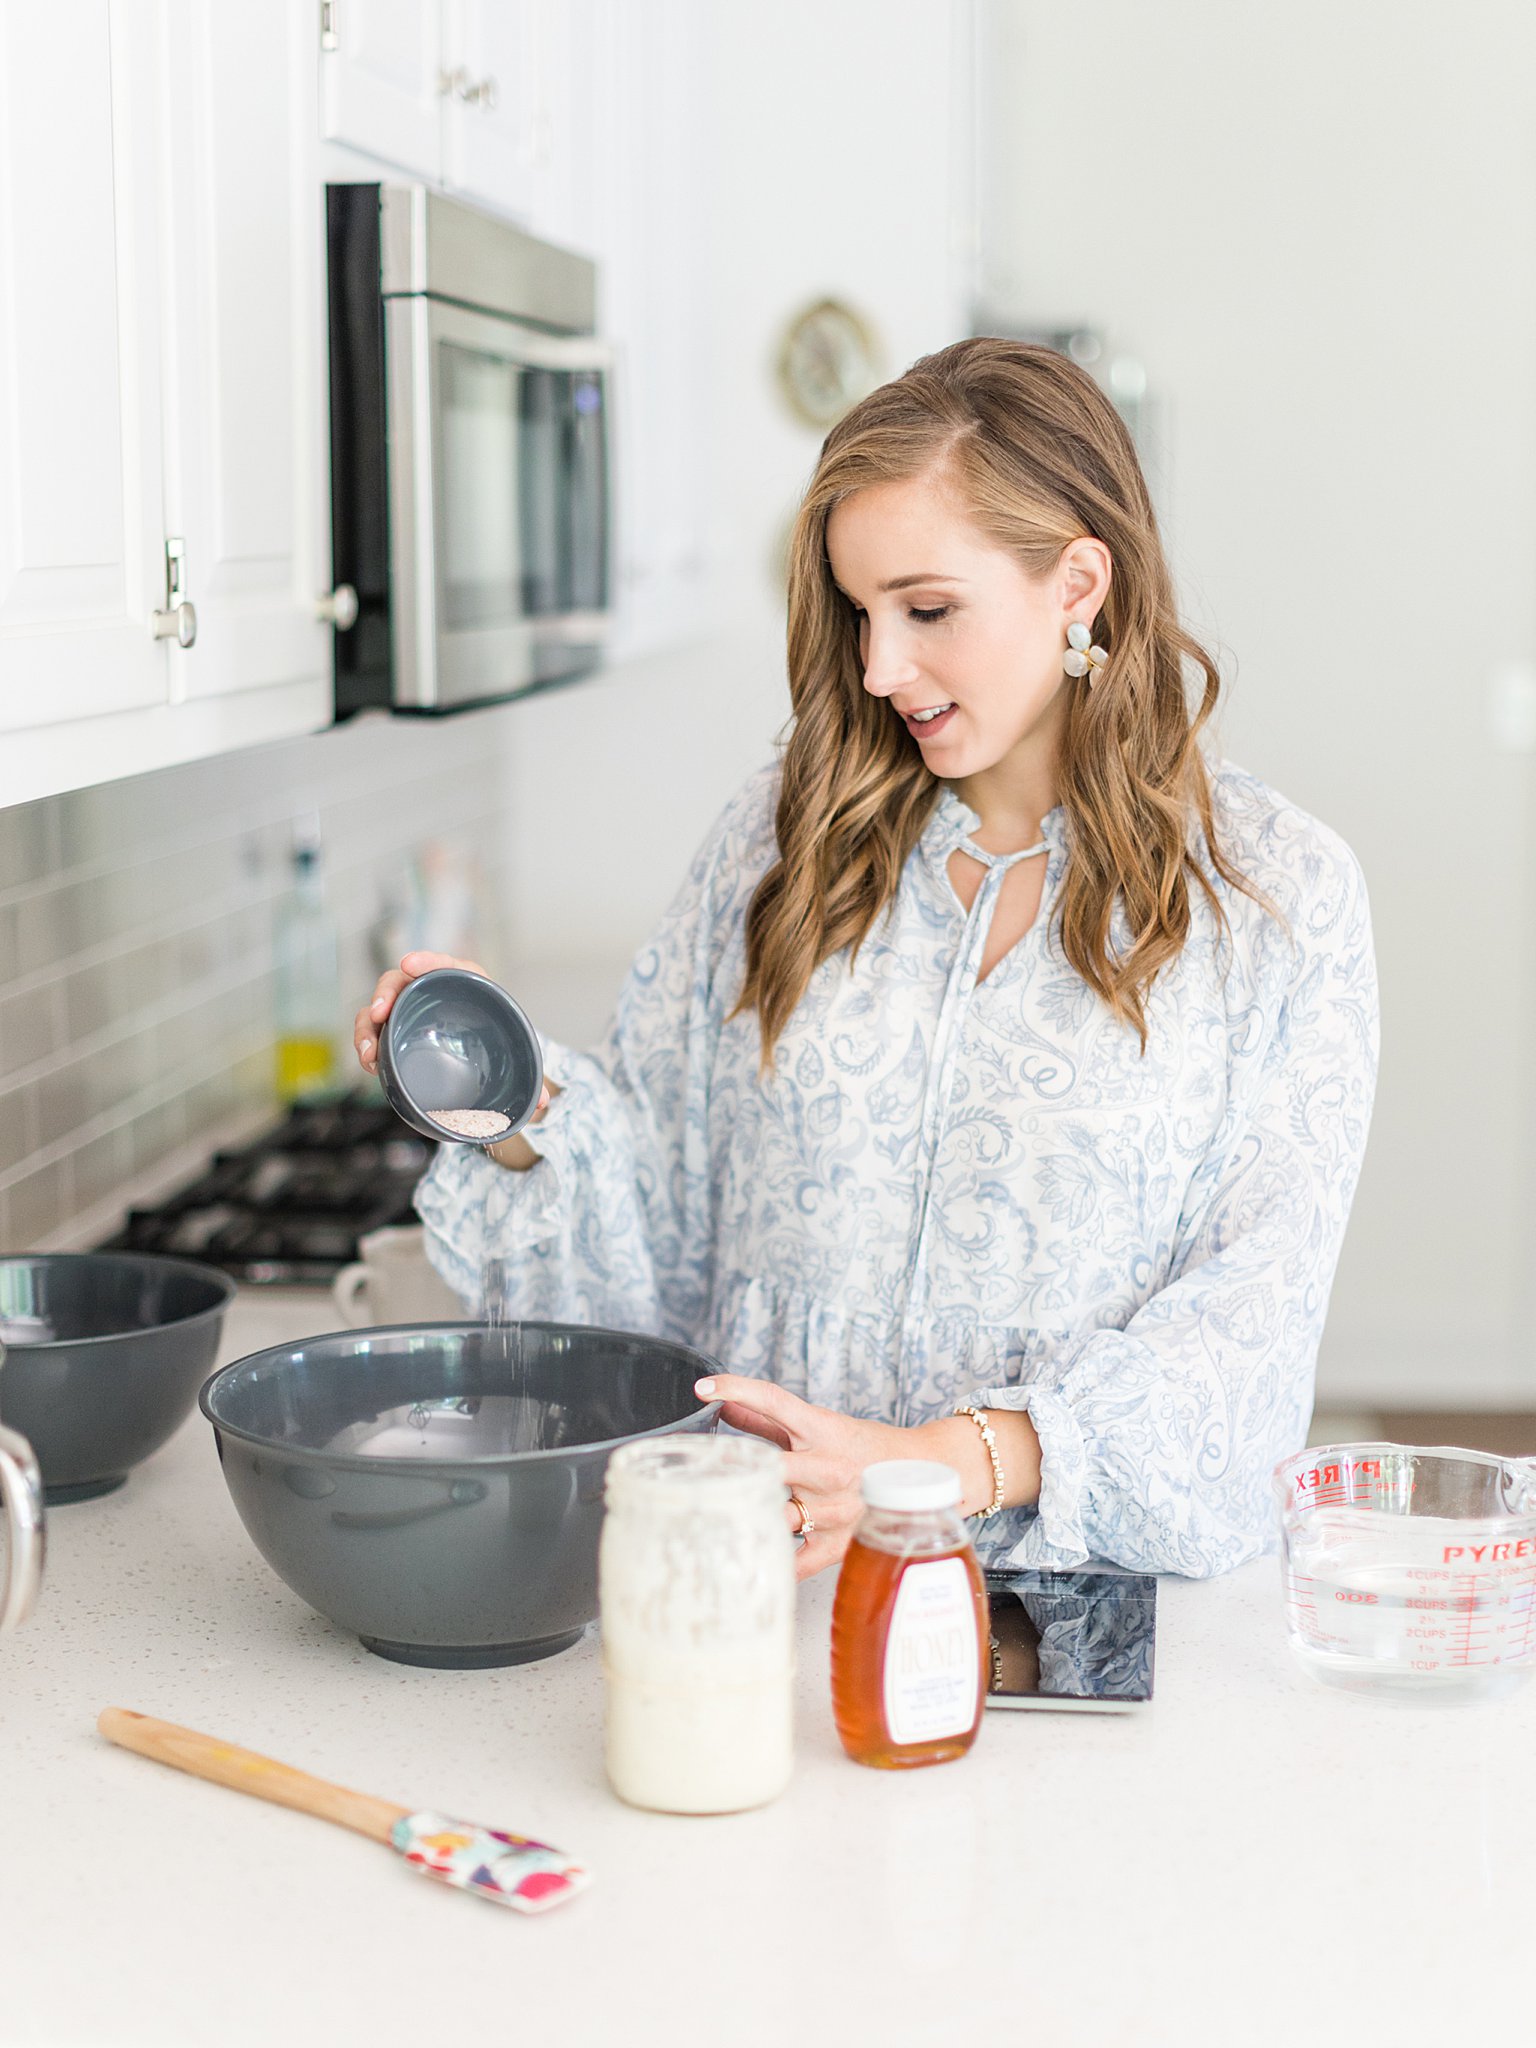
We were visiting friends in Oklahoma City a few weeks after our wedding when I had homemade sourdough bread for the first time. I started asking a million questions of Dylan. How he learned, who he learned from, how long it took, what the language meant. Within a week I had my hands in flour and water mixing up what would be my first two loaves of sourdough bread!
Before I met Jonathan, I imagine I was probably like most single women (let’s be honest – most single millennials). I would eat what was convenient and easy, but rarely went out of my way to whip up anything homemade for myself. My mom baked often and cooked for us just about every night growing up, and I figured that season would come for me, too. But the reality of it really hit after spending the 6 months leading up to our wedding living with my in-laws. We were cooking for 5 people every single night! And with everything shut down for COVID, there was rarely an evening we weren’t in the kitchen! Thankfully, baking comes pretty naturally to me. But I knew I needed (and WANTED) to find more ways to care for our home and future family as I prepared to enter married life. And I desired to do it in ways that were sustainable, fulfilling, and required skills that I could perfect and eventually pass on to our daughters.
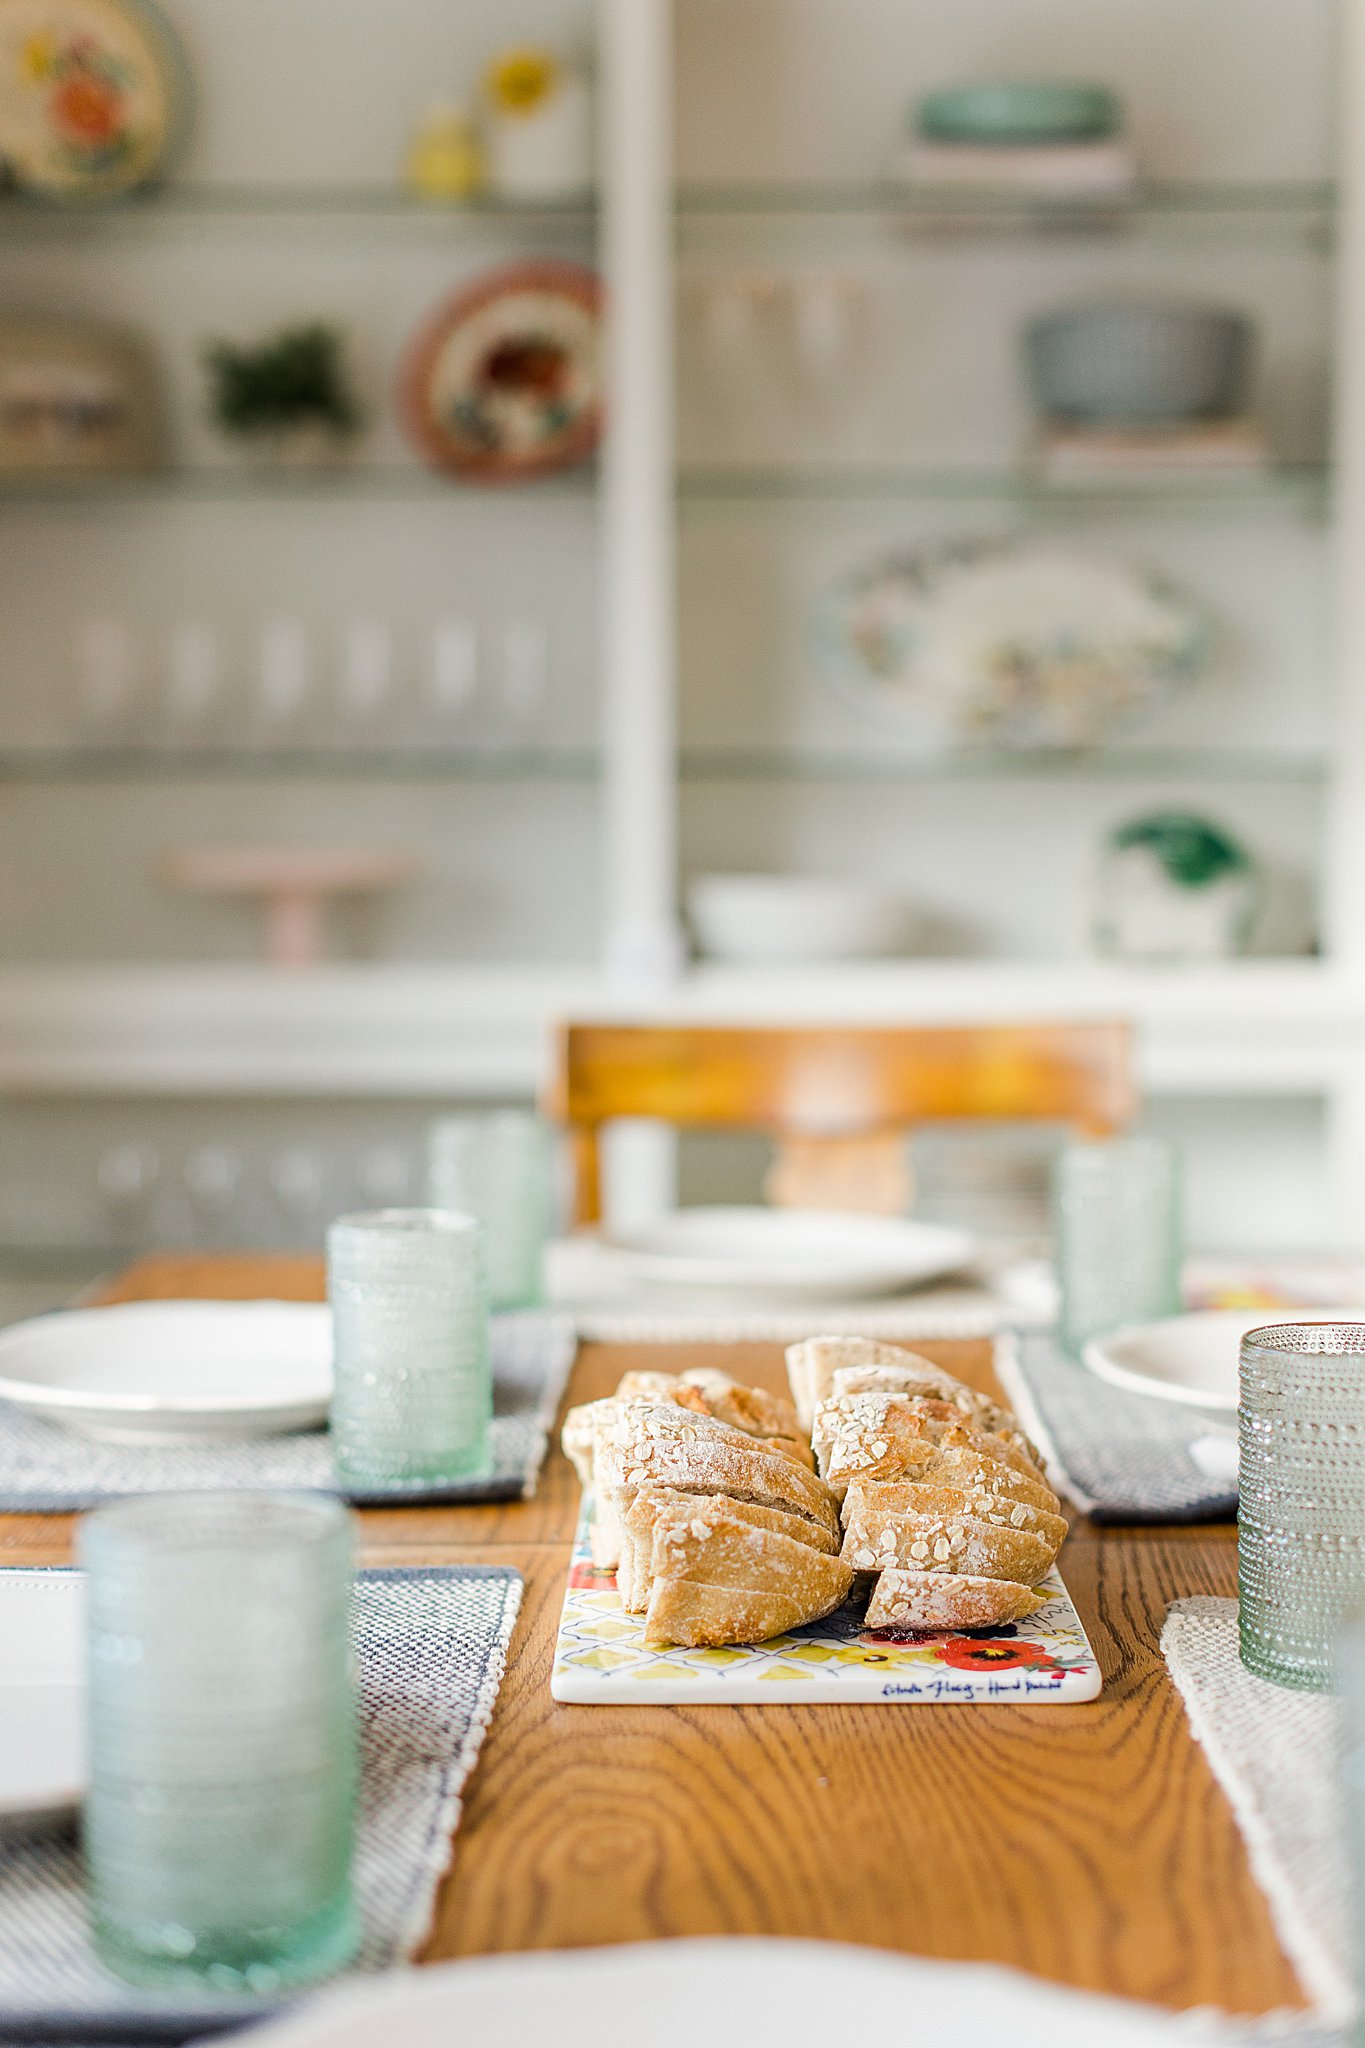
Now, years later, I’ve made more loaves of sourdough than I can count! There is something so satisfying about making something from scratch. I make sourdough for me and my family’s enjoyment, and its something I love to do. I share about sourdough often in hopes that others can use it to serve their families, friends, neighbors…whomever! Homemade bread is a great gift to share with your loved ones!
Every so often I have someone reach out for my sourdough recipe, and the truth is, it’s much more than just a recipe. It is a day of prep PLUS some of a process that will likely have a learning curve if sourdough is new to you. I will tell you I don’t always do it right (ask me how many times I’ve left out the salt…that is a DISASTER). And this is is definitely not the only way to do it. It’s just as much an art as it is a science, and everyone has their own methods. But it is what has worked for me! So here it is – officially!
The Russell Sourdough How-To!
Sourdough Supplies:
Find a few of my favorite products listed here!
- Medium wide mouth jar with lid (plastic lid preferred)
- Sourdough starter
- Spatula or spoon
- Food scale
- Large bowl (glass preferred)
- Tea towel or cling wrap
- Oven safe pot or dutch oven around 3-5 quarts in size with a lid
- Banneton (or smaller round or oval shaped bowl lined with parchment paper and flour)
- Parchment paper
- Lame (razor blade or knife works as well)
- Bread knife
Recipe:
- 1000g bread flour
- 725-750g filtered water
- 100-200g sourdough starter, fed and bubbly
- 20g salt (I use Redmond real salt)
Process:
If you’re interested in starting sourdough, you need a “starter” of flour and water. Ask around your community for someone who would be willing to share, purchase online, or start your own!
Sourdough starter (fermented flour and water, wild yeasts and natural bacteria):
- I store mine in the fridge and take out 1-2 days before planning to bake and feed it then. If you leave yours out on the counter, it will need to be fed every day.
- I typically aim to feed my starter first thing in the morning (7-8AM) so that it peaks around lunch time or soon thereafter. That way, my shaping time will line up with just before I go to bed and it can cold ferment overnight! More on that in a bit…
- Discard majority of the starter (I usually just dump out what I can and will leave residual starter around the edges of the jar…so not very much will remain!)
- Do not put down garbage disposal/drain – save in a separate jar for discard recipes or toss in trash.
- Feed 75g of water, 75g of AP flour (depending on size of jar)
- Keep somewhere warm until it doubles in size and bubbles are seen throughout. This will typically take a couple of hours. Top should be rounded, like a balloon before it starts to decrease in size. Great if you see bubbles popping on the surface.
- Tip: use a rubber band to gauge when it’s doubled
- Feel free to let rise in the oven with the light on, or on the “proof” setting. Just keep a close eye on its progress! Others recommend storing on top of your hot water tank or in the laundry room with the dryer running.
- When not in use, it is stored in my fridge.
 Rest period (or autolyse, depending on the method):
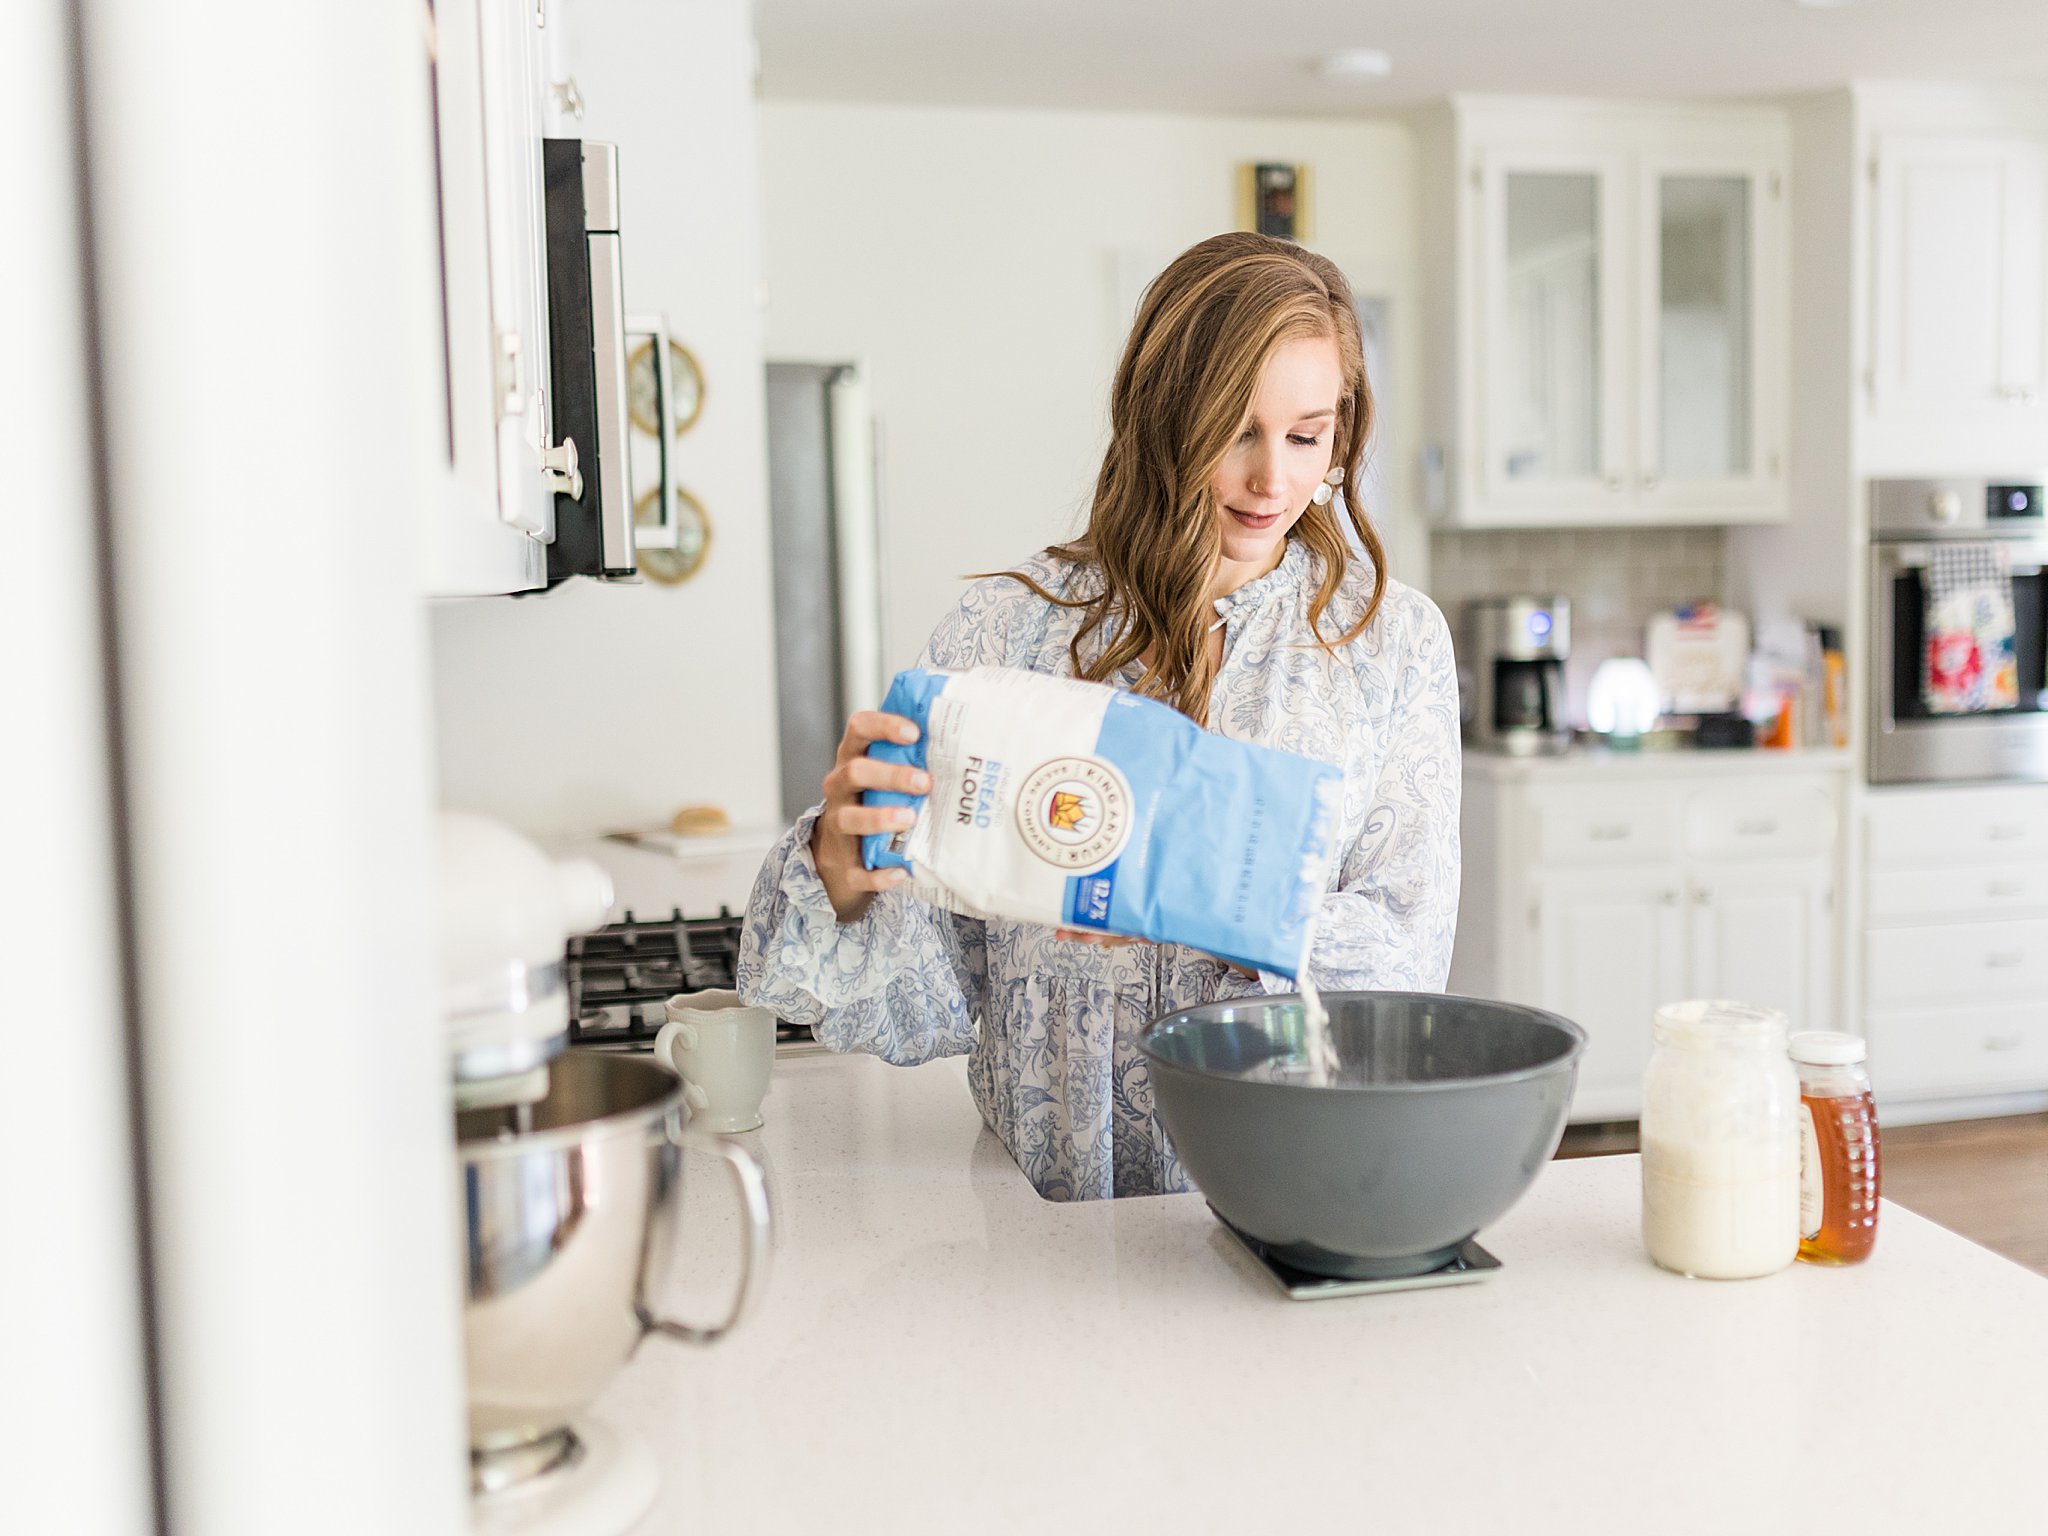
- In a large glass bowl, measure out 1000g of bread flour. This has a higher protein content than AP. Higher quality flour is great (King Arthur) – milled specifically for bread baking.
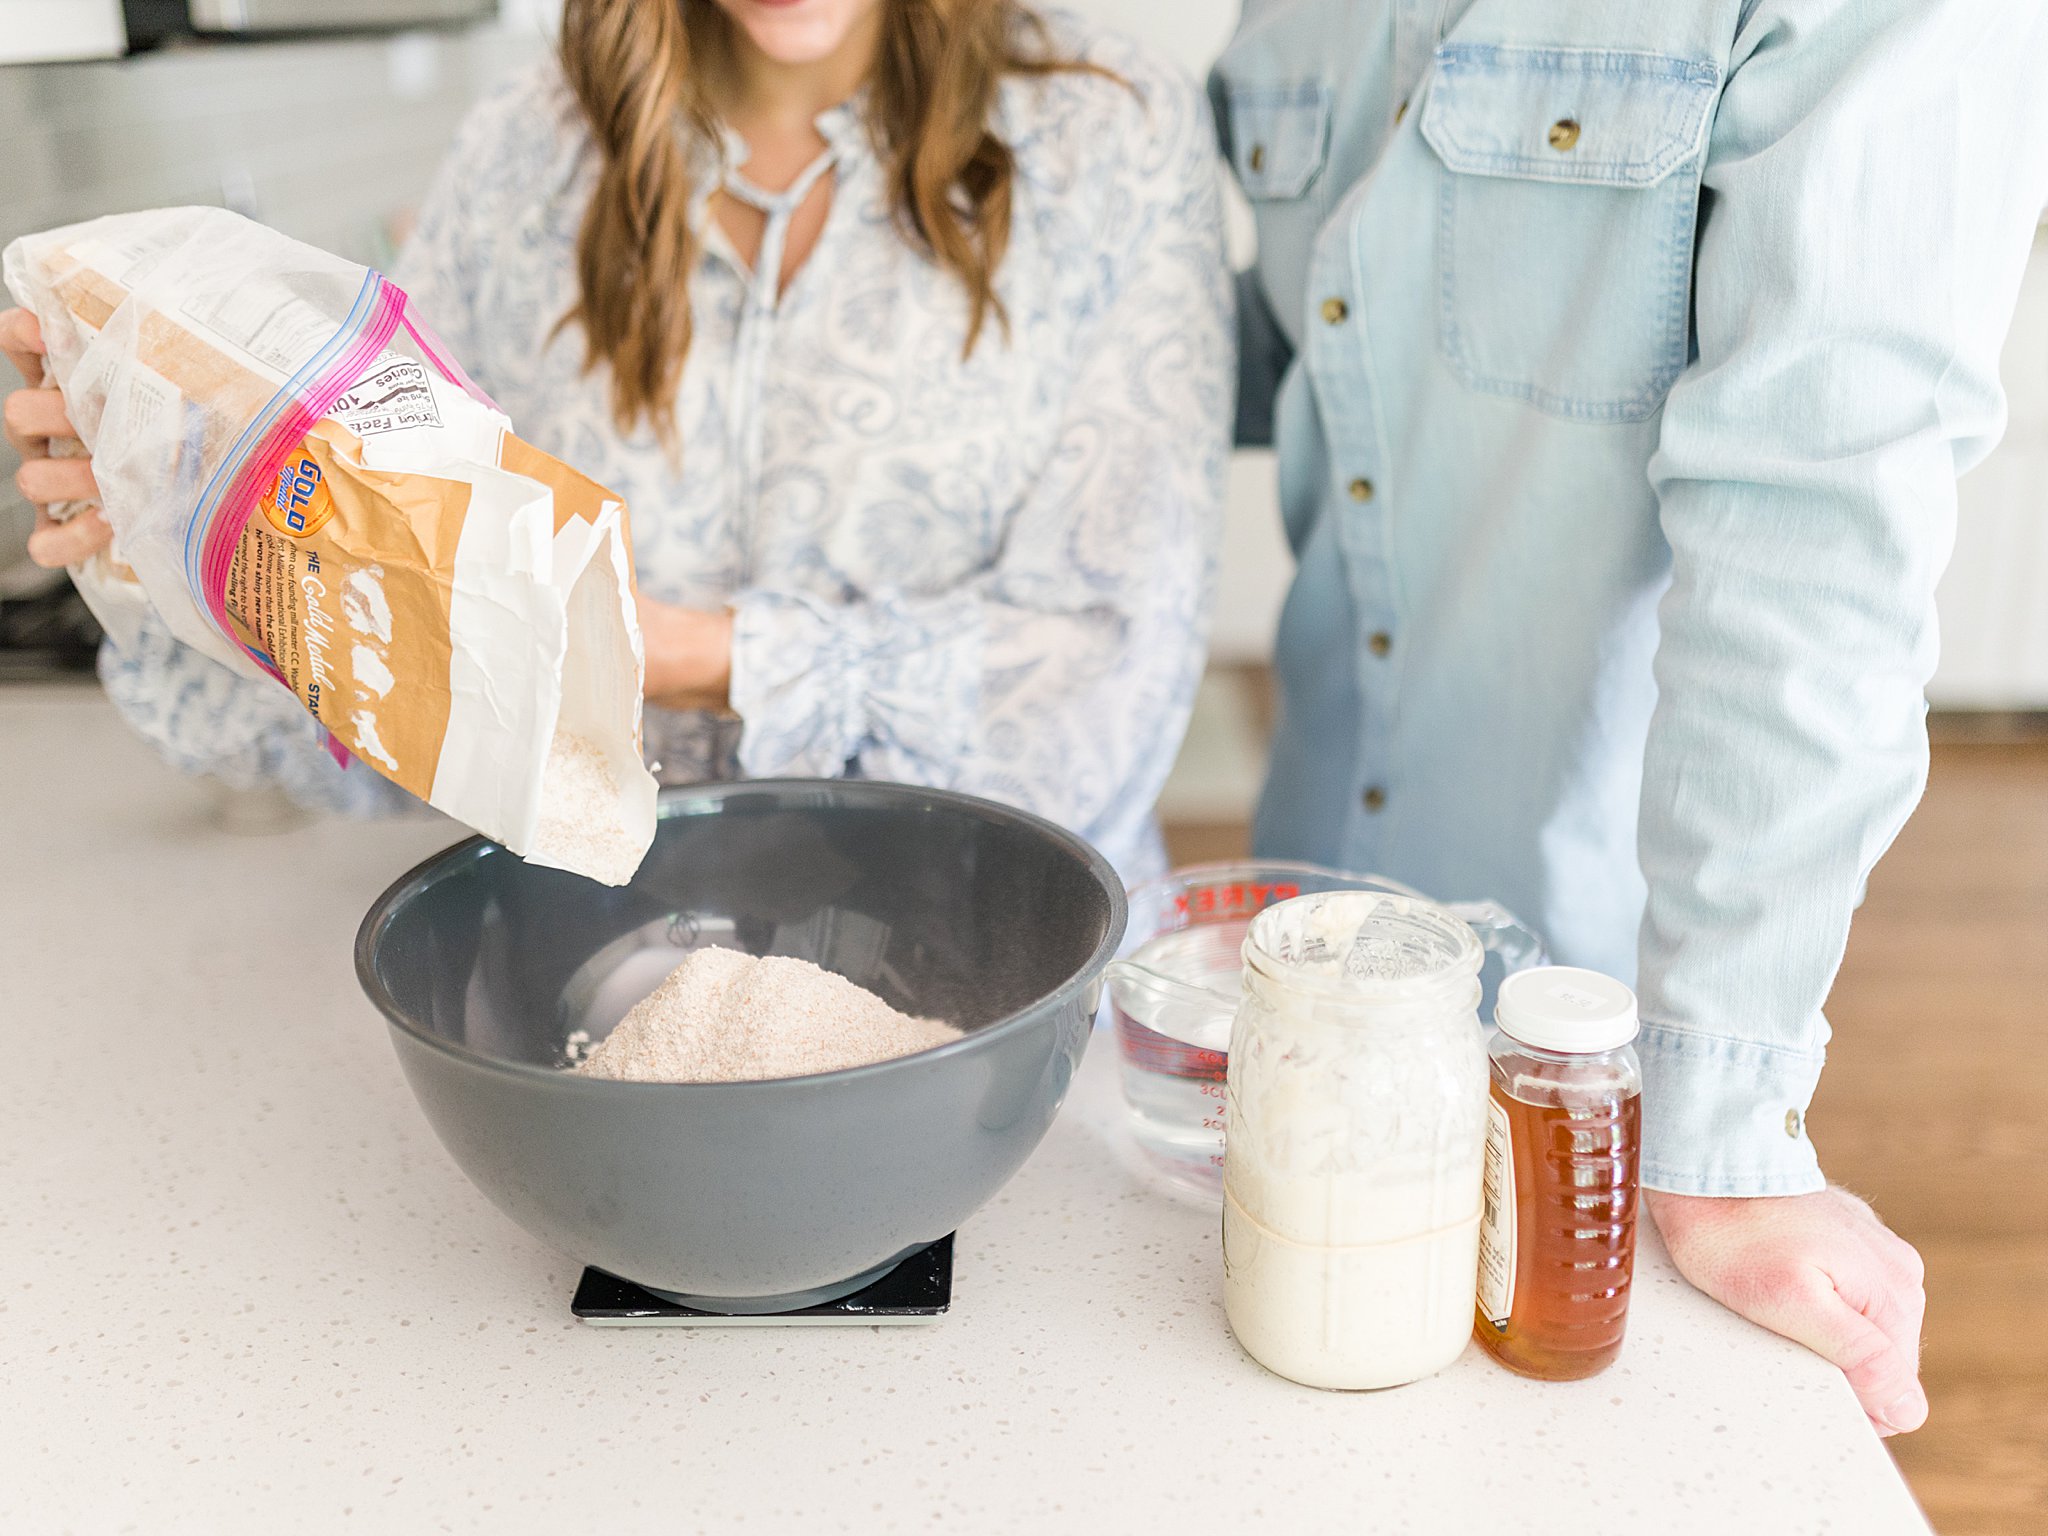
- Add 20g of salt to the flour and combine.
- In a separate bowl or large measuring cup, add 725-750g of water (I usually aim for 725g). Then, add 100-200g of sourdough starter to the water and combine.
- If the starter floats in the water, it’s ready to use.
- A smaller amount of starter will require longer fermentation times but will also increase the flavor and acidity in your bread.
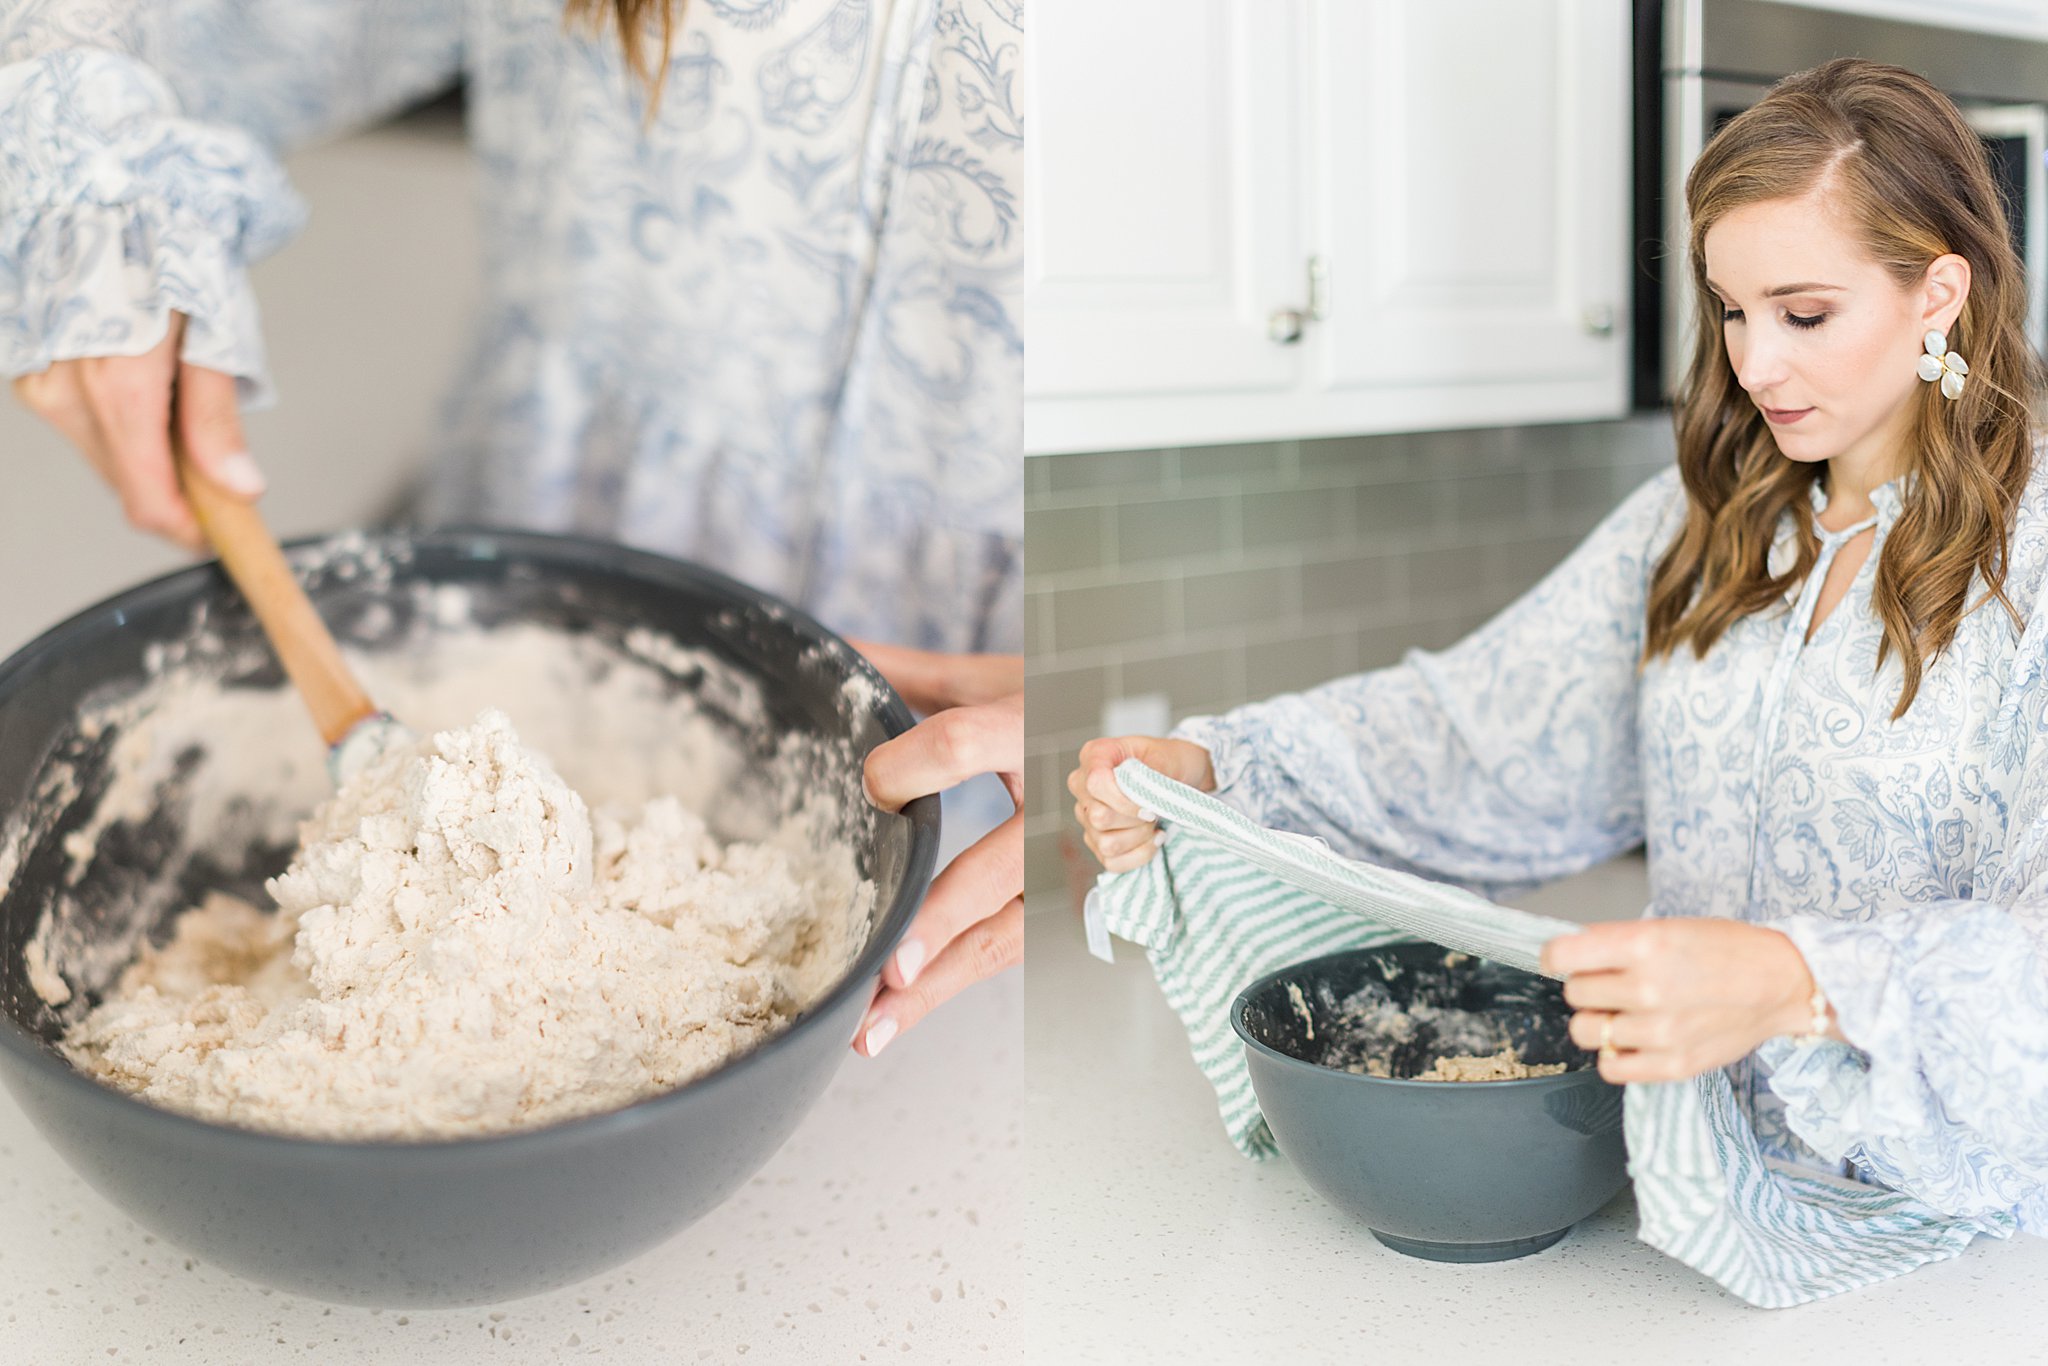
- Pour the water/sourdough starter mixture into the bowl with flour/salt and combine until the dough forms a shaggy mixture.
- Cover loosely with plastic wrap or a damp tea towel and let rest for about 45 minutes. This is when the water soaks up all that flour!


Stretch and Folds (this is when you’re developing the strength and structure + gluten within the dough):
- Pull one direction of the dough up and fold over itself. Repeat 4x in one sitting, turning the bowl each time.
- Recover with plastic wrap or damp tea towel and let rest for about 30 minutes.
- Repeat stretch and fold sets 3 more times.
- I aim for 4 sets of stretch & folds (not including the initial mix) in about 2 hours but it doesn’t have to be precise.
Bulk Rise/Bulk Ferment (allowing the yeast and bacteria to work up to develop flavor and build up gasses):
- After your fourth stretch & fold set, leave the dough covered to rise in a warm place. The timing will be largely dependent on the temperature of your home.
- Mine usually takes about 3-5 hours.
- Tip: place covered dough in your oven with the light on (oven off). Some ovens have a proofing setting as well, you’ll just want to keep a close eye on your dough.
- Looking for the dough to be pillowy and soft with a slight domed shape at the edges. About doubled in size.
Shaping:
- Lots of different techniques, I divide in 2 with a bench scraper on a floured counter. Then stretch out each piece into a rectangle before crossing one side over the other and rolling up, or pinching it up in a ball. You want to push/pull to build tension in the dough so that it retains its shape.
- Delicate so as to preserve the air in the dough. We’re not punching it down.
- Once shaped, dump upside down in Banneton, cover, refrigerate for 12-24 hours (I usually do this overnight) – creating a more flavorful and sour loaf.

Preparing to bake:
- Preheat your oven to 450 degrees with your Dutch oven inside. This helps increase oven spring.
- Remove Banneton/dough from the fridge. Dump dough out onto a piece of parchment paper and use a razor blade to score.
- Scoring: looking to cut into it at an angle/more horizontally for the ear – not straight down unless for decoration.
- Place dough on top of parchment paper inside Dutch oven.
- Bake with a lid for 25 minutes. Remove lid after timer goes off, bake for another 15-20 without lid.
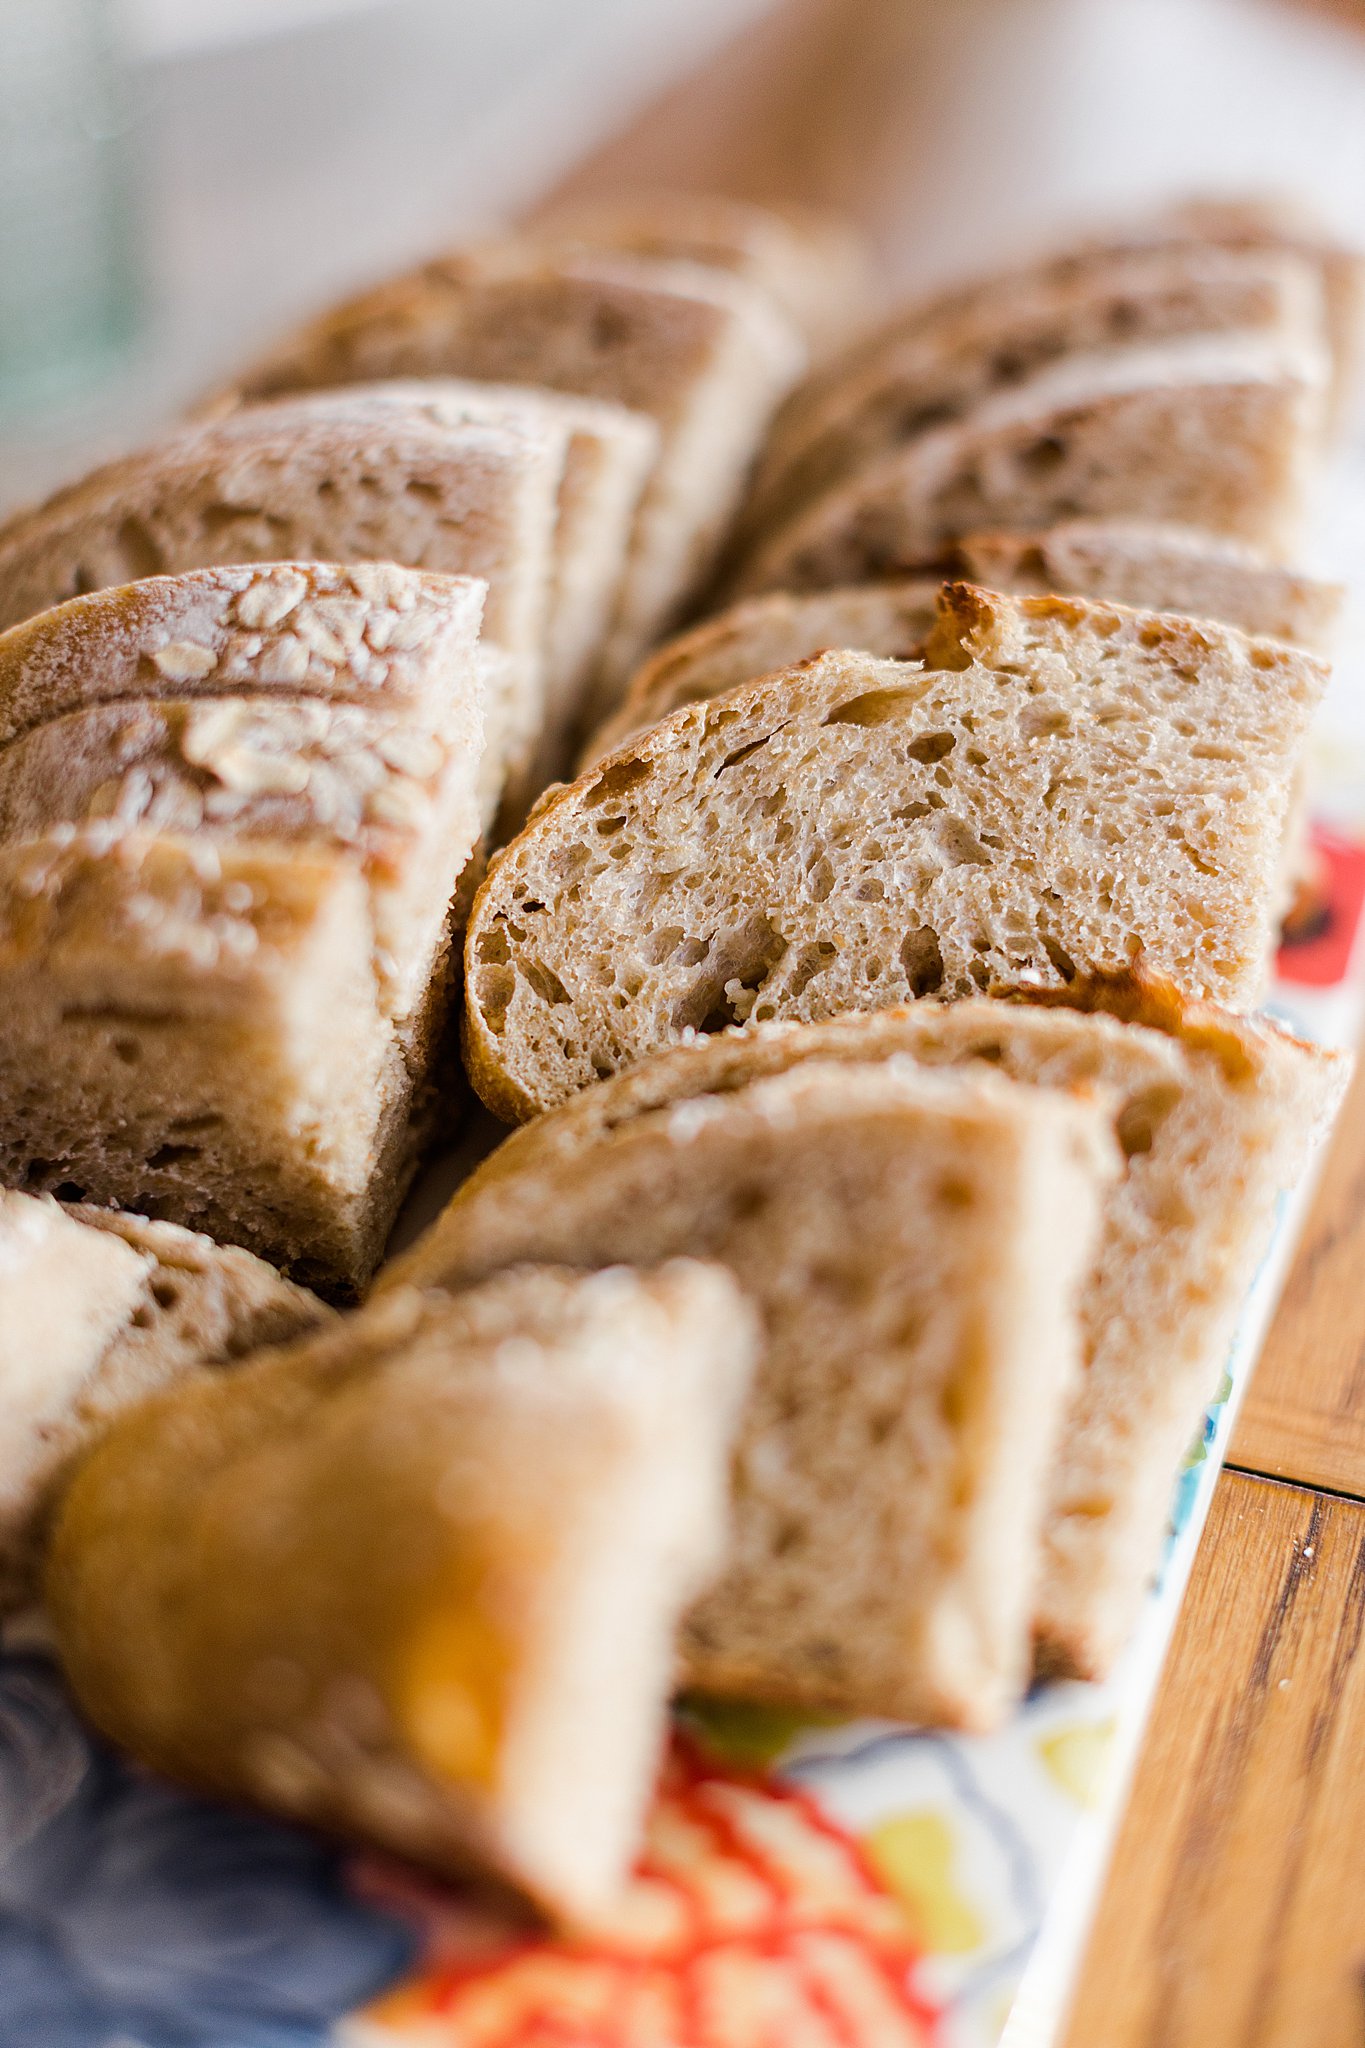
- Remove from the Dutch oven immediately to cool.
- Let cool completely (several hours) prior to cutting into it! An electric bread knife may be helpful!

Share this post: